
Tired of staring at your outdated faucet? Putting in a new one particular is straightforward! (No, really.)
If you’ve been washing your fingers a whole lot recently, you may have begun spending additional interest to your faucet. Does it drip? Is the chrome flaking off? Is it dated?
Plumbing assignments can be scary, simply because no one particular wishes to unintentionally flood their entire house. But installing a new kitchen area faucet truly is a Diy that any one can handle.
As prolonged as you work little by little and follow the directions, you can add a stunning faucet to your kitchen area with zero emergency calls to the plumber.
Supplies:
- New kitchen area faucet (and the installation manual)
- Adjustable wrench
- Flashlight
- Bucket
- Rags
- Cleaner
- Screwdriver
- Towels
- Teflon tape (optional)
Right before purchasing a new faucet, choose take note of your recent setup. Look under the sink to see how many holes yours has (generally involving one particular and 4).
This determines the kind of faucet that will work with your sink. A solitary-hole faucet can be mounted in a 3- or 4-hole sink by including a deck plate, but not vice versa.
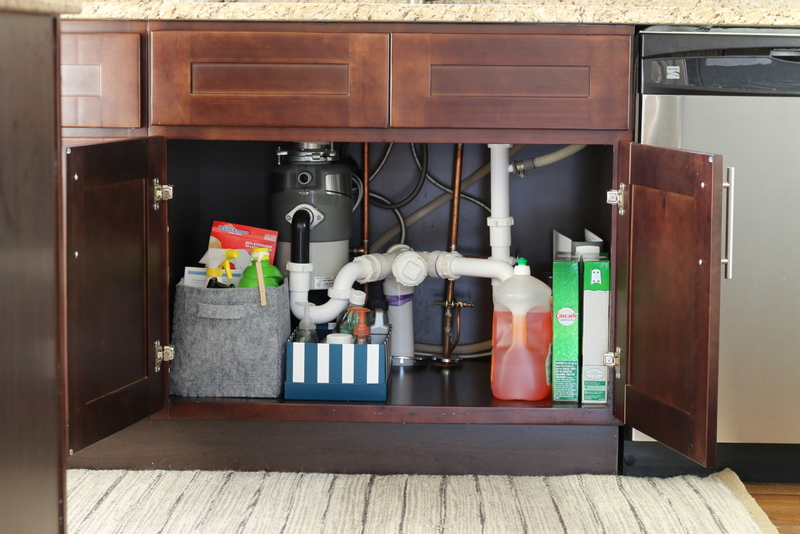
Phase 1
Get rid of anything from under your sink. This Diy normally takes area in restricted quarters, so you want to make it as roomy as achievable. Also, be positive to maintain a towel close by for any water drips.
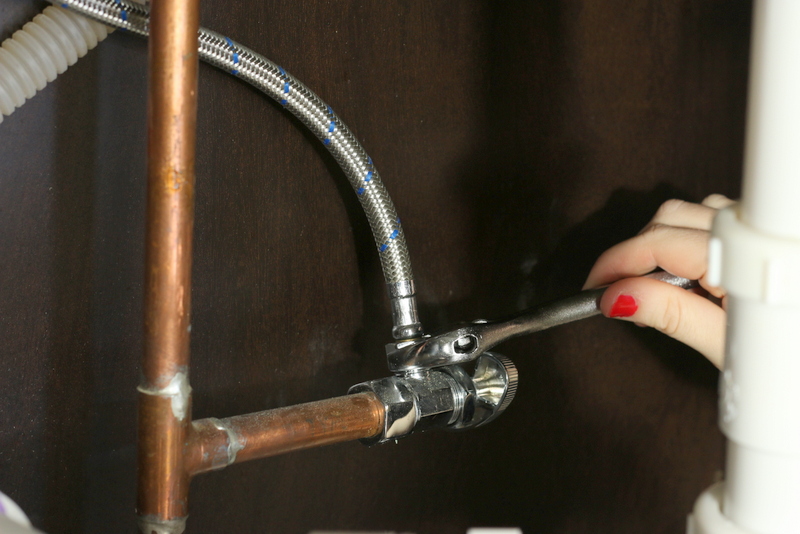
Phase two
Transform off the water provide lines to the kitchen area faucet. There will be a cold water and very hot water valve underneath your kitchen area sink.
Transform every of these water valves clockwise right up until you can’t change them anymore. Then change on your faucet and make positive water does not appear out.
Keep the faucet in the “on” placement to alleviate any water tension.

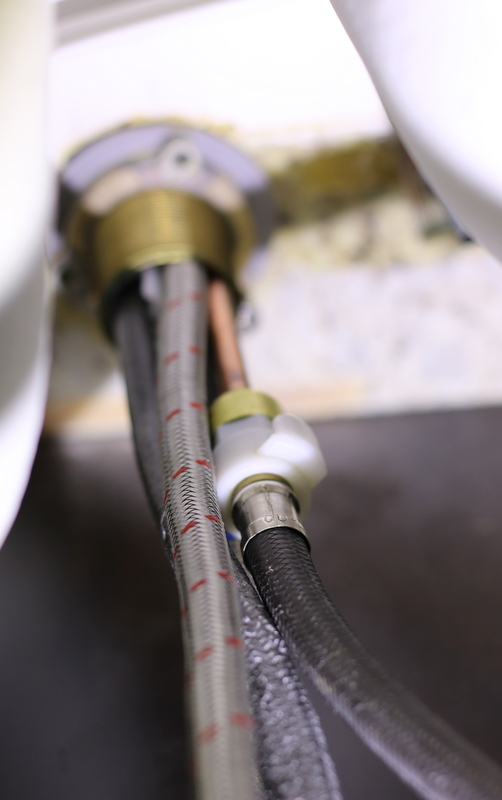
Phase 3
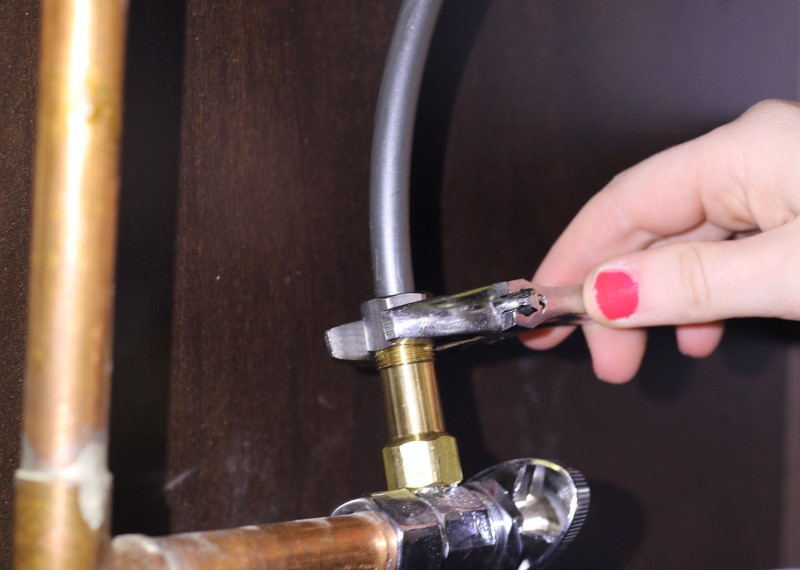
Now that the water is safely and securely off, you can unhook the very hot and cold water provide lines. You will require a wrench for this move. Merely loosen them (counterclockwise) right up until they unhook.
A tiny water may perhaps drip out, which is completely usual. Just maintain your bucket and rags helpful.
Phase 4
Unscrew your outdated kitchen area faucet from underneath the sink.
Every single faucet is various, so yours may perhaps look a bit various than this one particular. Ours had a gold ring that we just had to loosen with our fingers. Other folks may be connected with a nut. If that is the scenario, you will have to use your wrench once more.
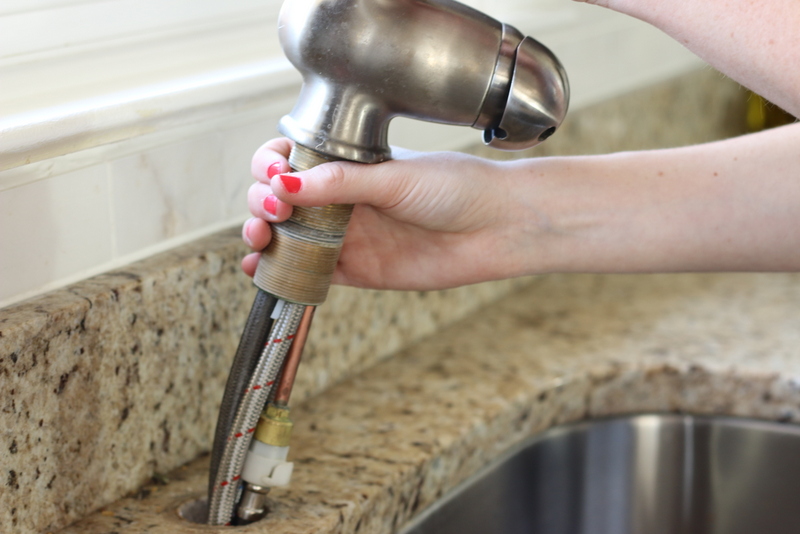
Phase five
Pull your outdated faucet through the top of the kitchen area sink and out.
Phase 6
Thoroughly clean up any gross residue that was hiding underneath your outdated kitchen area faucet with your towel. This is the time to get it wonderful and clean up, so place some muscle into it!
Phase 7
Get the manual for your new faucet, simply because you’re going to require it! Given that every single faucet is various, they all appear with their own established of directions. But we’ll walk you through the standard methods.
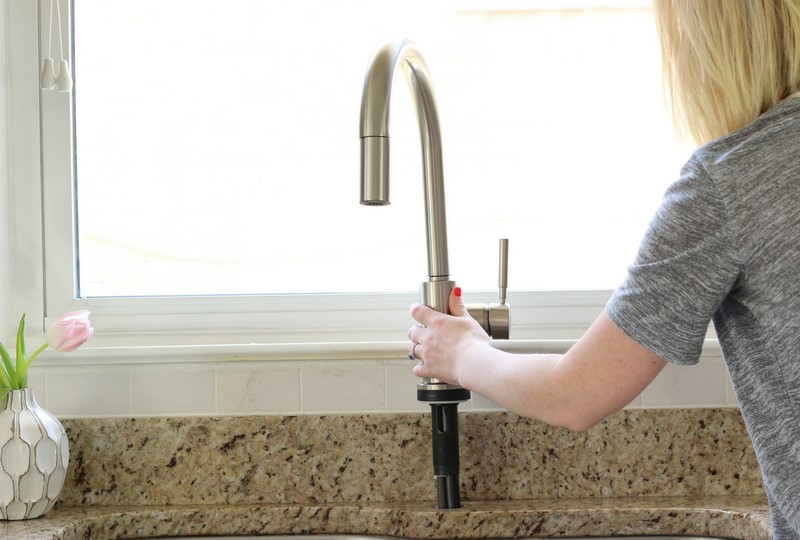
Feed your new kitchen area faucet into the hole at the top of your sink. You may perhaps want to enlist a buddy to aid maintain the top protected as you enterprise underneath the sink.
Phase eight
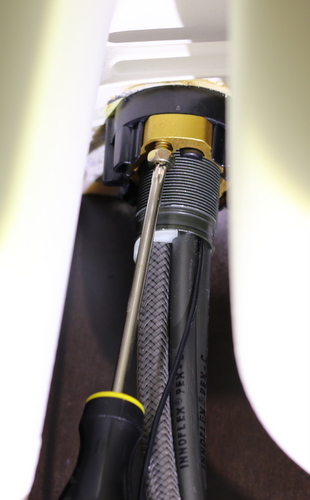
Protected your faucet from underneath the sink. Ours needed tightening a few screws.
Phase 9
Connect your cold and very hot lines to their valves, and make positive they are wonderful and snug with your wrench.
You may perhaps want to wrap your threaded pipes with some Teflon tape to make positive your seal is restricted and your connections stay leak-absolutely free!
Phase 10
Transform your water provide valves on … little by little! Then verify the faucet to make positive each your very hot and cold water are doing the job.
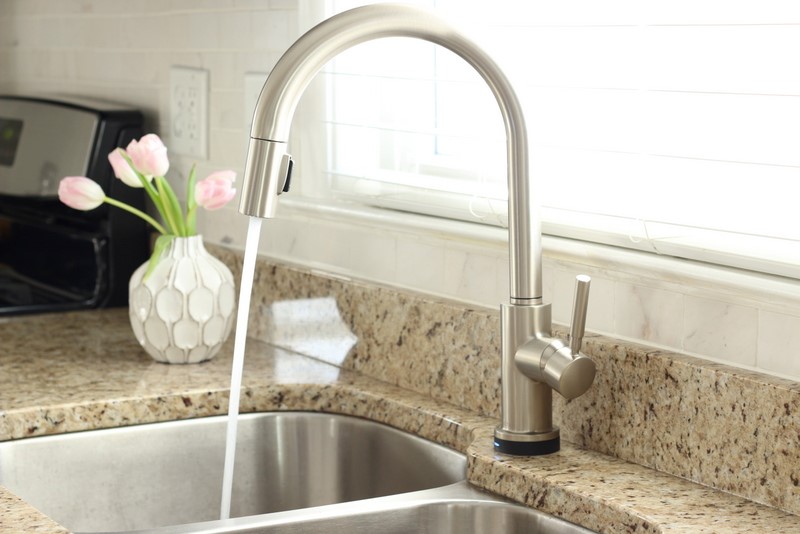
Which is it. Severely straightforward, suitable?!
You can elevate the look of your kitchen area in under an hour, and it will only charge you the cost of a new faucet.
Linked: